The trailer's packed and ready to go, as you can see here. So planning is essential when renovating a castle and while my husband has no social planning skills what so ever, he can plan for a renovation. He'll spends hours each evening, sketching, making list, looking through catalogues, and giving me instructions on what to order.
And the planning doesn't stop with catalogues, apparently, stopping at every antique store you stumble along in your travels is also a very important part of furnishing a castle. he just came home with a piece today that he found, and thank god, because it has to be cast into the wall. Just look at the money we are saving doing the shopping early and already having this piece before we do the walls.
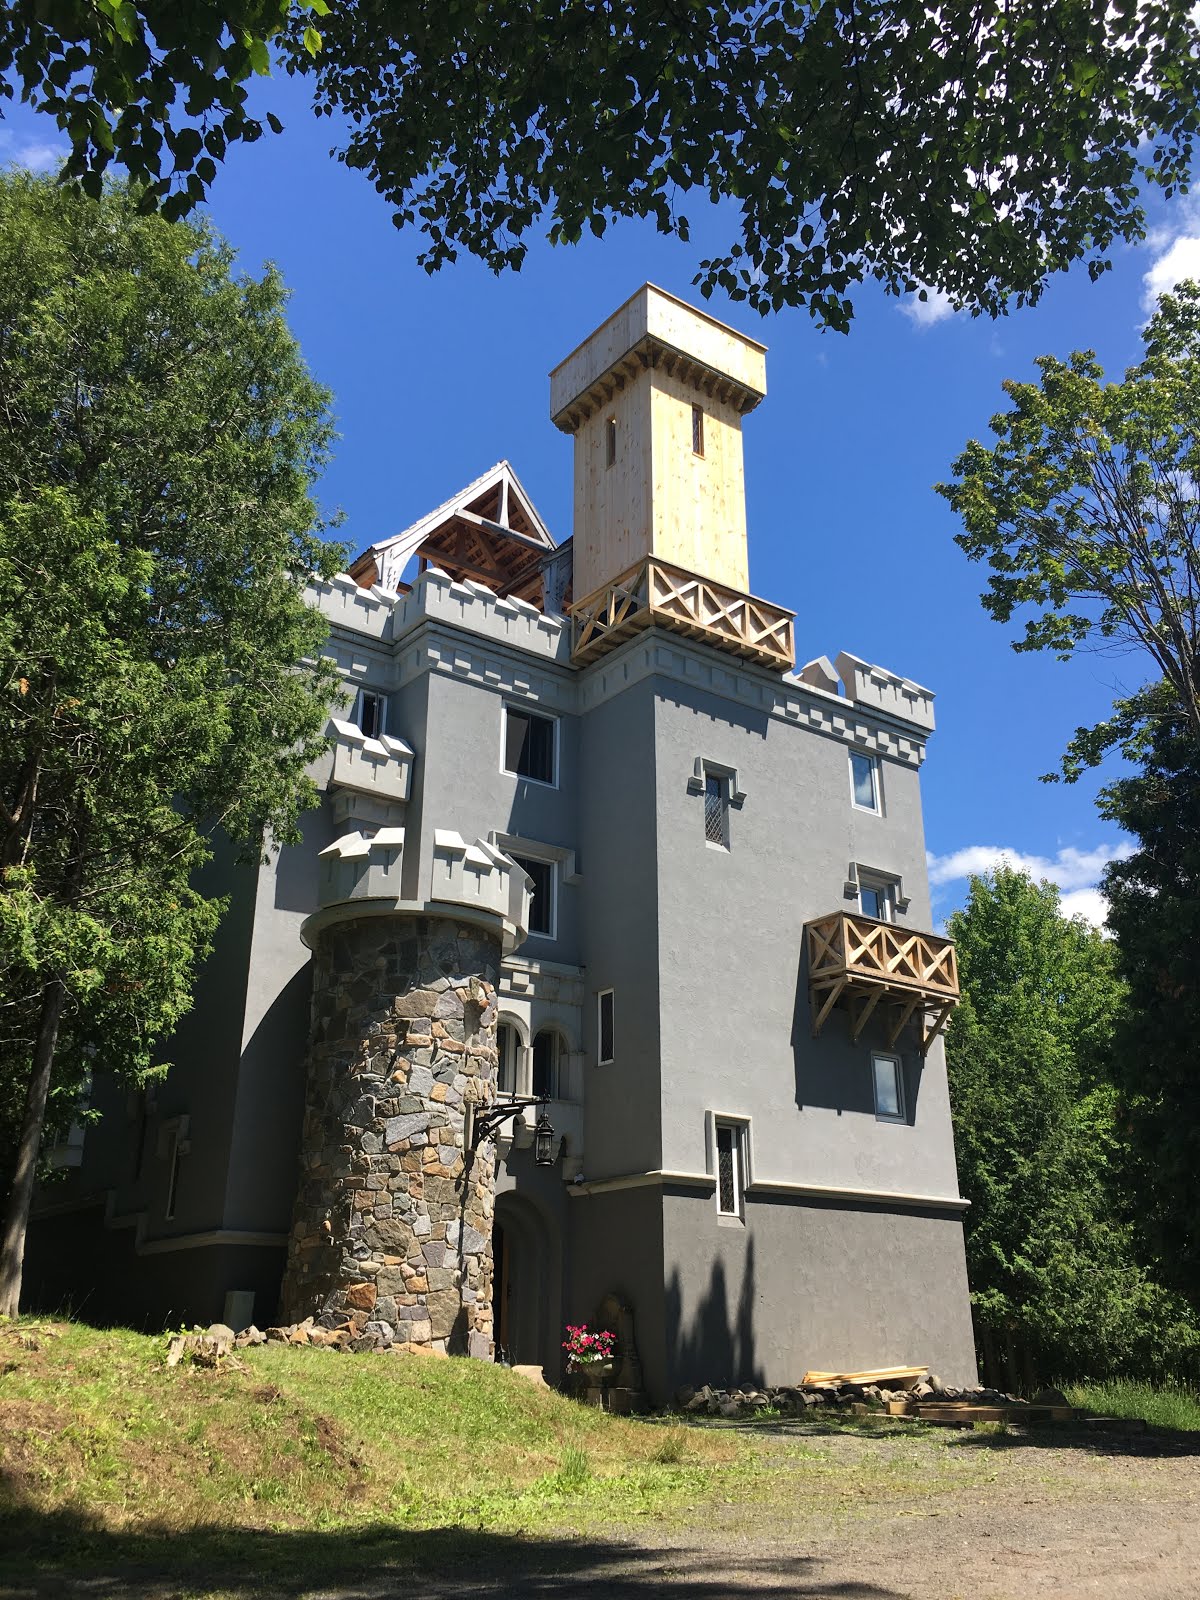
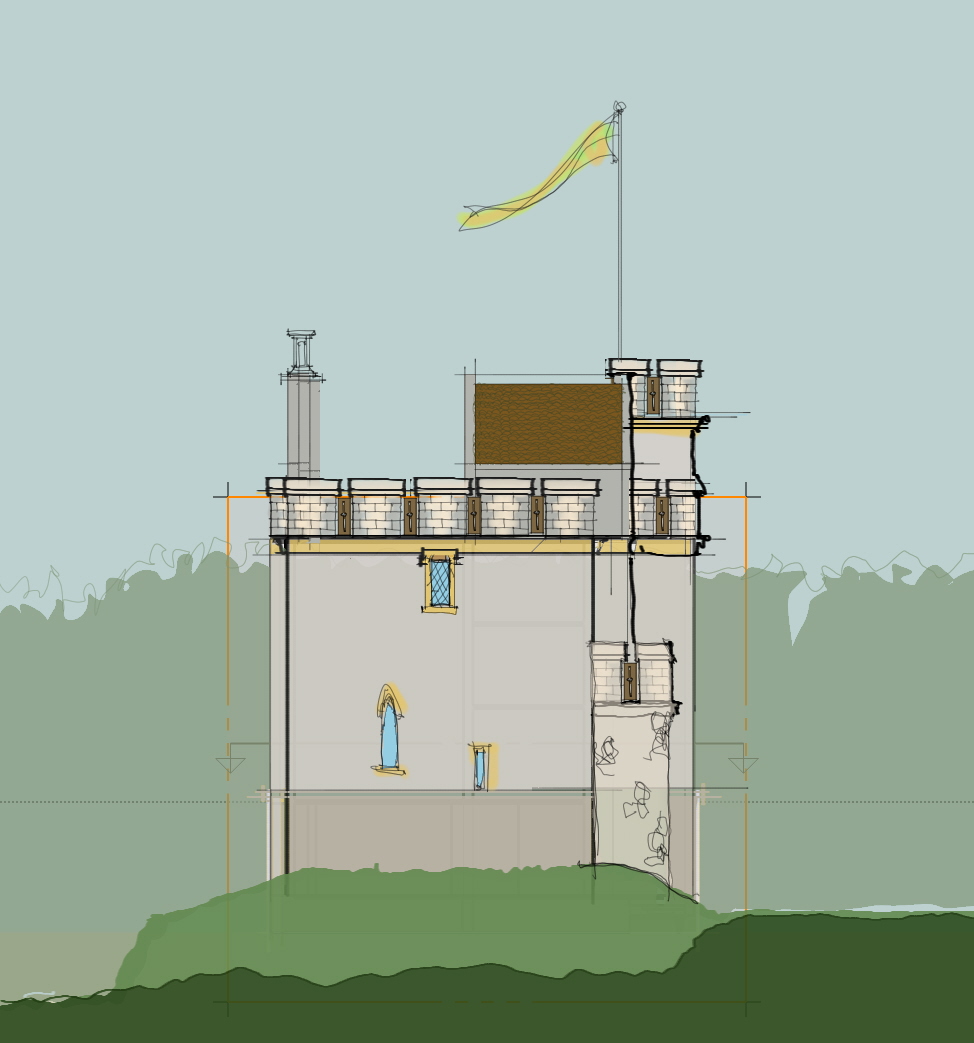
1. so, planning is the first thing, and along with all the things I mentioned above, obviously Andy has been working on the design and his office has been completing the construction documents. This phase has been going on since last December.
2. measuring it up. This happens time and time again. As the plans get more specific, we measure new aspects of what has already been measured. oh, believe me, we take this stuff seriously, so safety is very important, here is Uncle Mark sporting his safety googles!
and here is the construction formen Tosh, the orange hat is his!

3. tools & equipment - Like a kid in the candy store, buying a castle also means buying lots of new tools and equipment. For the ladies, just so you can understand, tools and the proper equipement are like having the perfect pair of shoes and jewelery for your outfit! There is nothing more exciting than walking into the local hardware store and realizing you can rent the stuff your wife won't let you buy! Yes, that brush cutter was powerful and tiring, but it was very manly!

4. Clean up the castle - for anyone who knows my husband, you know I often say he is not the neatest of men, but when it comes to the castle and his work site, he is worse than me. We have spent every weekend we have been there so far cleaning ! We literally pulled everything that was in there and lying around out and organized it into piles of usefullness or trash. Then we hauled pails of dirt and morter up 1-2 stories and placed them in the large containers. There were also loose piles of dirt they used to mix the concrete on each floor and we had to shovel that up, put it into buckets, and carry that to the fourth story containers. Then came the sweeping. There was probably 2-3 inches of dirt and other stuff on the floors and stairs and we have managed to sweep every aspect of that castle free of that, atleast for the time being. Did I forget to mention there were piles of unusable concrete bags that we had to get rid of and they were very heavy. We found this slide out front of castle and we brought it around back and the concrete went for a slide!

5. Open it up and air it out. On our first two visits there, we unblocked some of the windows that still had concrete blocks in them to get the air moving. We also took the plexiglass off some of the upper story windows. When you are moving all that dirt and debris, it is good to have some air in there. It also looks alot better with the windows open and Todd looks good carrying the plexiglass out!


6. organize building materials - over a 20 year period lots of things have been brought in to use for later aspects of the build and alot of them were just here and there, so another project was getting building materials sorted out and getting rid of stuff we can't use and organizing stuff we can.
7. form work on cisterne - so one of the rooms on the main floor of the castle is something Ed called the cisterne. It seems he was thinking about using it for water collection of some sort, we are going to use it for a wine cellar and game room, but either way, the origional wooden form work when they poured the origional concrete almost 20+ years ago was still there. You men are probably saying, wow, why would they leave it, you ladies are probably saying what is form work and what does it matter. Well, building lesson I received on this was - when you are pouring concrete, you have to have a structure, often wood, that you pour it into and when the concrete is dry, you take form work off. Well, it seems it can be a big project to do this and one Ed didn't want to do, so Andy & Rex went to town with their crow bars in hand ripping it off. This took about an entire day, but it all gone now.

8. securing the structure - another important aspect for us is making sure when we leave the castle, that it is locked, safe, and secure. Obviously with any job site you can always have unwelcome guest who want to see what is going on and if they want to get it, they will, but we can make it hard to do so and we can make sure it is as safe as possible if they do. So, another one of our focuses was getting the big steel door in the back of the structure hung. Andy realized the door in the room as we entered must go to the back opening, but it didn't seem to fit. It appears Ed misjudged the opening for door as he didn't account for the hinge and swinge of it. Andy said we had to use the door, it is gianormous and solid steel and expensive! So we had to knock out a row of the concrete block to get it to fit. Then we had to oil and grease hinges and then we had toMcguyver a way to get it up and on. Andy figured it out, we got 3-4 of us and we did it, that was a proud moment!
9. perk test - Ed put in a well and there is water at the site, but we need to do some small perk test around the site and then a deep dig perk test. My Uncle Frank made some calls and got us a backhoe to come in and help with that. Apparently the results are good and the water is where it needs to be.
10. clean up the property - I spent alot of time with friends, family, and the kids picking up trash on the property, old rusted cans & parts, piping and wiring that was left, glass. We made two trips to the local dump, I think that makes up regulars!

We also started to try and improve the curb appeal by getting rid of a bunch of the brush that had been left after loggers came in and harvested some of trees. This picture may not look like much to you, but it was alot of work to get this view, and she should have seen the scrapes and scratches on my legs!

Here's Aunt Julie and the twins cleaning brush!

and here is King Ding Dong, as his shirt says, feeling happy with all the work we accomplished. Many thanks to uncle Mark, Aunt Julie & the twins & The Marshall's for helping out this weekend. Thanks to Jen, the kids, & Bruce for stopping by and making us take a break, and much thanks for staying tune for more updates.

and somevideos to help prove that hard work can be fun!


